Gift with Purchase: Spend $200 and receive a FREE gift.[0]
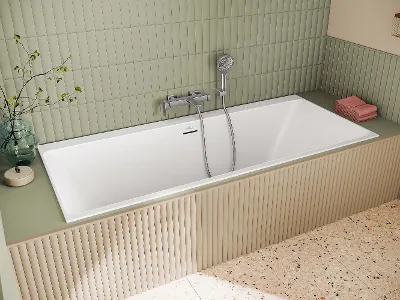
Renewing Silicone Sealant
Sooner or later, whether in the bathroom or kitchen, silicone sealant will start to show signs of wear and tear and will need to be replaced. We explain how to repair silicone sealant and the important points to bear in mind for silicone grouting.
Content
At a glance
Silicone seals protect the building structure from moisture and dirt while absorbing stress.
It’s important to replace silicone sealant which has yellowed, cracked and become mould-infested
Properly preparing and cleaning the seals is crucial to ensure the new silicone holds and seals properly.
Suitable silicone is available for every area
When and why should you remove silicone sealant?
After a while, silicone seals start to look unsightly and cracked. You will then need to take DIY action quickly. This is because damaged sealant can lead to water damage and mould formation. We explain how you can repair silicone sealant or how to remove and replace old silicone. In many cases, it can actually be better to replace bathroom sealant.
Signs that you need to replace silicone sealant
Fine cracks can sometimes appear in silicone joints due to bathroom fixtures becoming loose or if they have been installed incorrectly. Dirt and moisture also affect seals and can cause discolouration and cracking.
You can carry out a DIY repair on small cracks and holes in joints using special repair products. However, for larger cracks, a simple repair is not enough. In this case, you should remove old silicone sealant and replace it. As well as looking unsightly, these cracks also pose a risk: Moisture can penetrate into the building fabric through the gaps, causing damage and encouraging mould formation on the walls.
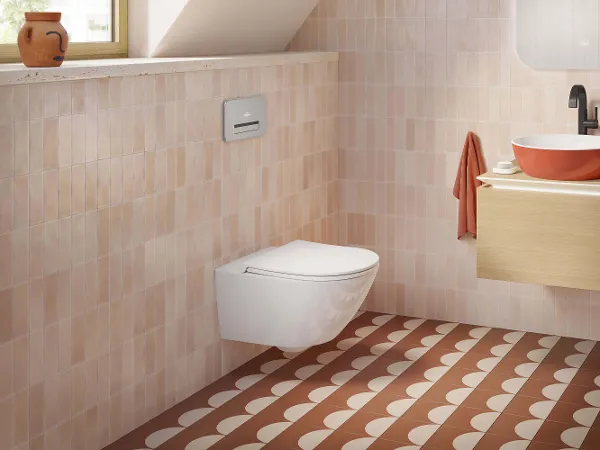
The problem of mould growth and its removal
Mould is not uncommon in rooms such as bathrooms where humidity levels are often very high. The problem is that mould forms hyphae as it grows. These are initially colourless and therefore invisible. It is only when mould forms spores that signs appear in the form of yellow or black mould stains.
While mould in low concentrations does not pose a health risk, it can cause respiratory irritation in allergy-prone individuals and those with weakened immune systems. Wiping off mould stains will not solve the problem, because it usually forms within the joints or below the silicone.
New mould stains would quickly reappear on the joints. The best solution is therefore to replace silicone sealant where affected.
How to repair silicone sealant
Small cracks can sometimes form within the joints due to significant movements of bathroom fittings, dirt and moisture. In this case, repairing the silicone joints is usually enough. You can buy repair silicone for this. It adheres very well and can be easily applied over the existing silicone.
However, if the cracks are too large or if mould stains have already formed on the silicone joints, the best plan is to replace the tile grouting. In this case, it is not a good idea to apply new silicone on top of the old sealant. The old, dry material would not bond with the new silicone and this would then allow moisture to enter the gaps and encourage mould growth.
The following therefore applies in particular for the bathroom: If you are replacing silicone in the bathroom, remove old silicone sealant carefully and clean the surface thoroughly. You will need a grout rake, water, washing-up liquid and a small bucket for this. In addition, you will need a silicone gun for cartridges, a silicone cartridge and a plastic blade to scrape the joints.


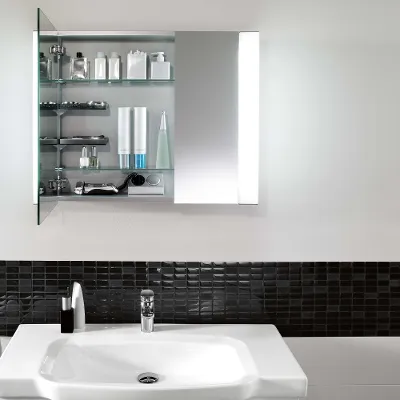
Removing old silicone sealant and cleaning the surface
Before you replace silicone sealant, it is important to first carefully scrape the old silicone out of the joint using a grout scraper to avoid any damage to the floor or wall. Then clean the joints thoroughly, as this creates a stable surface for the new silicone.
DIY tips: Start by removing coarse dirt, for example, using a special silicone remover. Then clean the joints again with water and washing-up liquid. If mould has already formed on the joints, it’s best to use a mould cleaning agent for removing mould from silicone. After cleaning, leave the tiles and joints to dry completely before applying new silicone. Important: Wear breathing protection and gloves when carrying out this work and make sure the room is well ventilated!Taping silicone joints for repairs
It will be easier to replace joints in the bathroom or kitchen if you cover the edges with masking tape, creating a clear border. Apply the masking tape on both sides. This will avoid having to remove excess sealant from the tiles and your bathroom fixtures later.
Pouring and smoothing the silicone compound
Timing is crucial in this step, as silicone dries within a few minutes. Therefore, all tools should be readily available. Do you need to replace silicone sealant at floor-wall transitions? If so, follow these steps:
First, apply primer or bonding agent to the gap and insert a backer rod. This will help improve elasticity.
Then cut the nozzle of the cartridge tip at an angle. The opening should be two millimetres wider than the joint.
Then position the tip and gently squeeze the silicone compound into the joints, ideally at a 45-degree angle. You should only wet the edges of the joint.
Guide the spray gun with the cartridge along the joint, if possible without putting it down, in order to distribute the silicone compound evenly.
Immediately after application, smooth down the sealant using a finishing trowel previously moistened with smoothing agent or washing-up liquid to remove any residue.Allowing sealant to dry
Leave the repaired silicone joints to dry before exposing them to any stresses or making corrections. The sealant must not come into contact with water, so if you are replacing silicone in the shower, for example, make sure that it is not used for the next 24 hours. The same applies for the washbasin or bath.
Choosing the right silicone
Different rules apply if you are replacing silicone in the bathroom or carrying out repairs in another area of your home. Specific types of silicone are required for different areas. Silicone should generally have high tensile strength. Other material properties are important too, depending on where you are applying it.
How to replace bathroom sealant
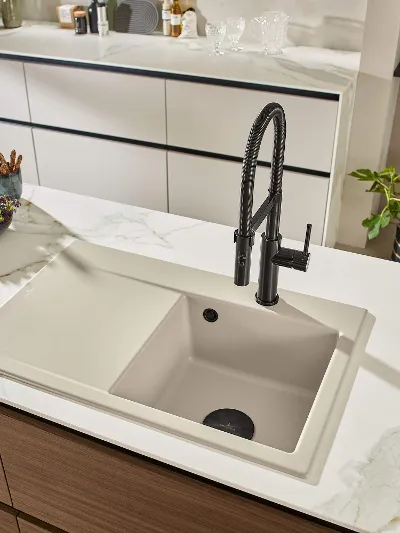
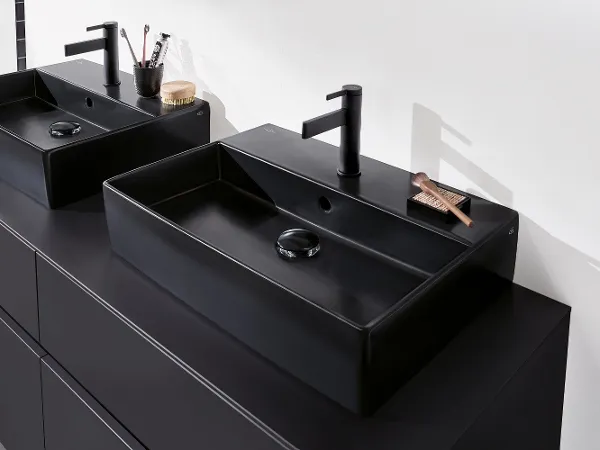
Silicone joints can be found in different areas of the home. Their function is to protect the building fabric from dirt and moisture while absorbing stress. To ensure they can fulfil these tasks reliably, occasional DIY repairs will be required. Different processes apply depending on whether you are repairing sealant in the bathroom or in the kitchen.
Our useful DIY tips will help you repair or replace silicone sealant in any room of your home. And if you are looking for high-quality sanitary ceramics or modern kitchen fittings, Villeroy & Boch has a wide range of products for you to choose from.

All about your personal spa bathroom
Discover modern bathroom ideas – including cleaning tips and exclusive benefits delivered straight to your inbox.
As a welcome gift, you will also receive a 10% discount on your first order of Dining & Lifestyle products.[0]
Expert assistance for every occasion
Service and advice

Bathroom planner
The online Bathroom Planner will help you plan your dream bathroom to meet all your wishes and requirements in just a few simple steps.

Find a dealer
Find your nearest Villeroy & Boch dealer and get expert advice on our products.

Free video consultation
Use our video advice service for help with your bathroom planning: discuss all the details of your bathroom project with our experts online.


