Save up to 40% on classic entertaining essentials[0]


Shower cleaning tips
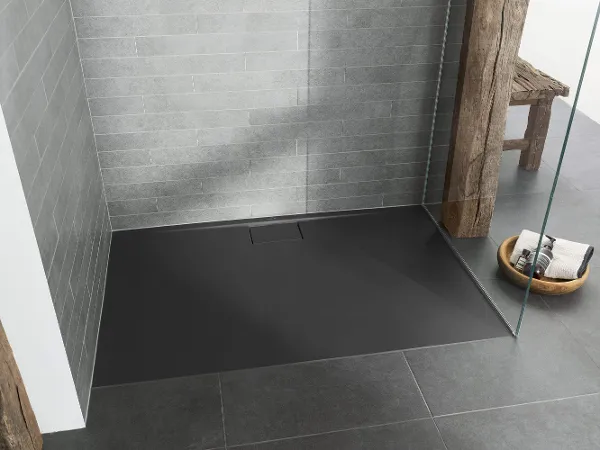
With a little help, learn how to clean a shower, no sweat!
Grout is particularly sensitive, but other surfaces and materials can also become rough and increasingly unsightly due to overly vigorous cleaning, the wrong cleaning products or a combination of both.
The best way to clean a shower generally only requires a glass cleaner for the shower walls, a mild all-purpose cleaner or soft soap for the floor and vinegar or citric acid to remove limescale
How to clean a shower effortlessly
For particularly stubborn limescale stains, leave vinegar to soak for up to an hour. Another of our shower cleaning hacks: For hard-to-reach areas, like around taps and fittings, it’s more effective to use a spray bottle to apply the vinegar as a fine mist. Incidentally, the smell of vinegar disappears very quickly after rinsing, and because vinegar has disinfectant properties, it also eliminates other odours. Mould, which thrives in damp environments, can also be effectively prevented using household vinegar as a home remedy.
Light stains can simply be removed with a damp cloth and a little washing-up liquid.
However, this is not enough for more stubborn limescale stains. The best way to remove these is with vinegar - one part simple table vinegar or vinegar essence diluted in 5 parts water is perfectly adequate.
Apply the vinegar with a cloth or sponge to the areas with lime buildup and let it sit for a few minutes. Afterwards, just rinse off the residue with clean water.
Info
How to clean a shower – and how often?


Subscribe to our newsletter
and look forward to modern design ideas, care tips and exclusive benefits.
Shower cleaning hacks to deal with mould
The most important step is to ventilate the room thoroughly on a regular basis and to quickly reduce humidity after showering, such as by turning on the heating (or leaving it on for longer).

High-proof alcohol (at least 70% alcohol content, such as methylated spirits) or, again, vinegar (essence) both have a disinfectant effect and reliably kill mould spores. Alternatively, you can also use a mould remover from a hardware or DIY store.
In that case, be sure to ensure proper ventilation, as many of these products contain chlorine compounds. Also, never mix chlorine-based cleaning agents with acids, as this can create toxic chlorine gases!
Wipe the mould thoroughly with a cloth soaked in alcohol or vinegar until there are no more visible black marks or greasy deposits. You can also remove stubborn dirt with a little scouring cream mixed with vinegar or alcohol to achieve an extra disinfectant effect.
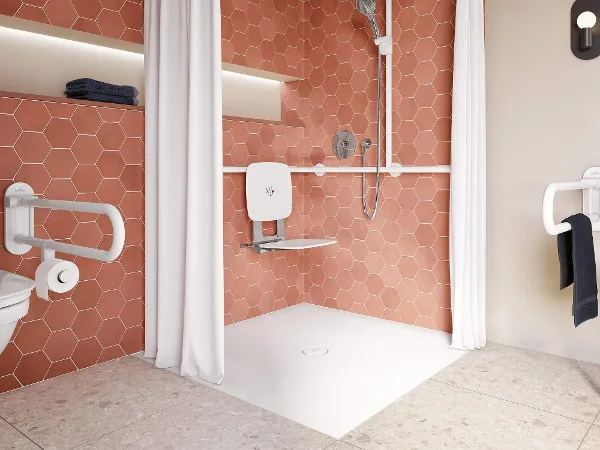
Replacing mouldy grout
Mould can also settle in the grout, which is not only an aesthetic issue. If the mould cannot be completely removed by hand because it has already become too deeply embedded in the grout, the only solution is to repair or completely replace the grout. In such cases, cracks or holes in mineral-based grout, like mortar or cement, can often be repaired. However, black, cracked or leaking silicone joints can no longer be repaired and must be replaced.
Before the substrate can be cleaned and disinfected, the old grout must first be removed. The new silicone joints can then be applied. If carried out properly, this helps prevent new mould from settling and spreading.